If you read my last post, then you know I am in the midst of spring cleaning and that includes my body.
I just recently put together a week's worth of recipes for one of my clients and it definitely inspired me to switch up my routine in the kitchen and try some new things.
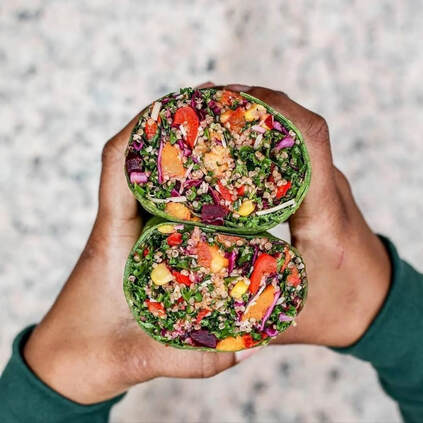
This week's recipe while simple and quick (you know that's my theme), is very colorful and versatile because you can choose whatever ingredients you want to include. The ingredients I have included will give you a filling meal that is fresh and full of protein. I love to get creative with my food when it comes to flavor and also presentation. I believe beautiful food makes the experience better. Even when you are making a quick meal like this rainbow wrap, you will have a treat for your eyes and belly.
I just recently put together a week's worth of recipes for one of my clients and it definitely inspired me to switch up my routine in the kitchen and try some new things.
This week's recipe while simple and quick (you know that's my theme), is very colorful and versatile because you can choose whatever ingredients you want to include. The ingredients I have included will give you a filling meal that is fresh and full of protein. I love to get creative with my food when it comes to flavor and also presentation. I believe beautiful food makes the experience better. Even when you are making a quick meal like this rainbow wrap, you will have a treat for your eyes and belly.
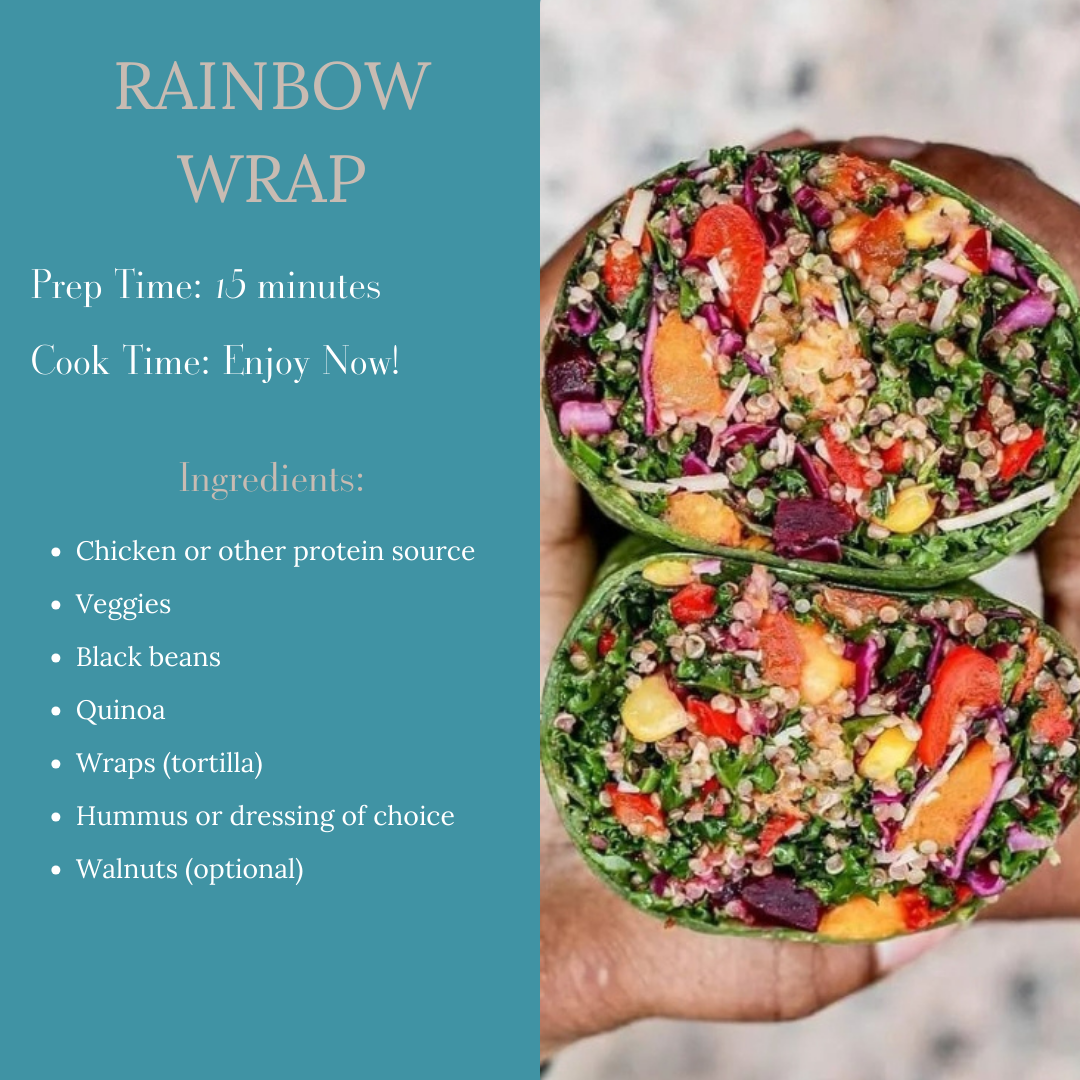
Rainbow Wrap
Prep Time: 15 minutes
Cook Time: Enjoy Now!
Ingredients:
Instructions:
Gather your ingredients. Chop your veggies and be sure to precook your quinoa if you are including it in your wrap. Take your wrap and spread some hummus or dressing on it. Layer your veggies, beans and protein in the wrap. Be careful not to add too much so you can fold your wrap. Once folded, cut your wrap in half and enjoy!
Notes:
Preparing your wrap- chop your veggies up small so you can have even flavor in every bite. Feel free to have a cup of dressing or additional hummus on the side.
Substitutions- you make prefer a wrap that is a bit healthier. Spinach, tomato, cauliflower or whole wheat wrap. You may also want to use collards in place of a traditional wrap.
Additional ingredients- Adding avocado will give your wrap creaminess and healthy fat. Sprinkle some flax, hemp and chia seeds or walnuts in your wrap for extra nutrients and added crunch. Again, whatever you want to add is up to you. If you can fit it in your wrap, go for it!
Recommendation for postpartum moms: cook all of your ingredients (veggies) before making your wrap so it will be easily digestible.
Enjoy!
For Your Information
This recipe is:
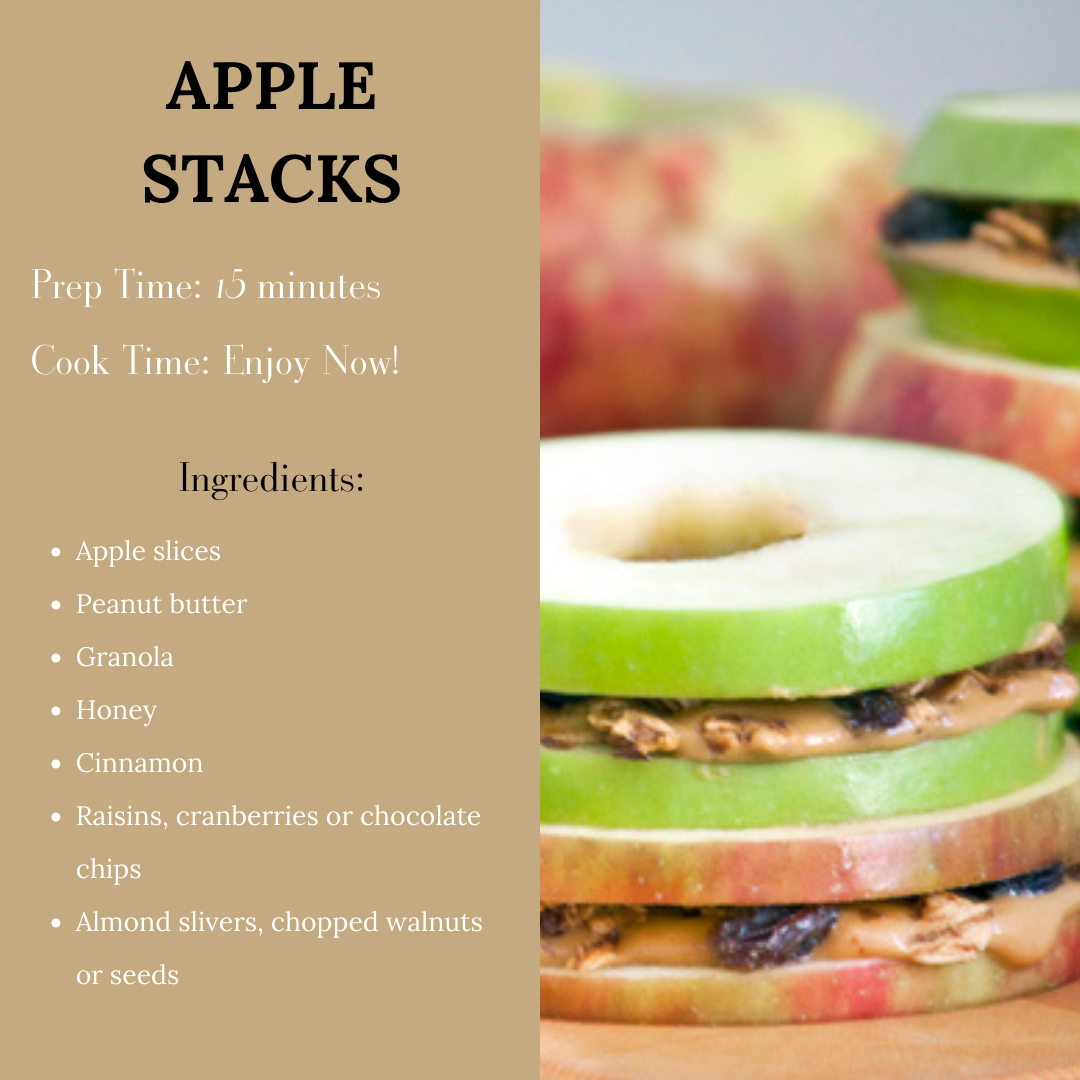
Prep Time: 15 minutes
Cook Time: Enjoy Now!
Ingredients:
- Chicken or chosen protein (optional)
- Veggies (carrots, purple cabbage, yellow and red peppers, red onions, spinach, kale, arugula)
- Avocado (optional)
- Black beans
- Wrap
- Hummus or dressing
Instructions:
Gather your ingredients. Chop your veggies and be sure to precook your quinoa if you are including it in your wrap. Take your wrap and spread some hummus or dressing on it. Layer your veggies, beans and protein in the wrap. Be careful not to add too much so you can fold your wrap. Once folded, cut your wrap in half and enjoy!
Notes:
Preparing your wrap- chop your veggies up small so you can have even flavor in every bite. Feel free to have a cup of dressing or additional hummus on the side.
Substitutions- you make prefer a wrap that is a bit healthier. Spinach, tomato, cauliflower or whole wheat wrap. You may also want to use collards in place of a traditional wrap.
Additional ingredients- Adding avocado will give your wrap creaminess and healthy fat. Sprinkle some flax, hemp and chia seeds or walnuts in your wrap for extra nutrients and added crunch. Again, whatever you want to add is up to you. If you can fit it in your wrap, go for it!
Recommendation for postpartum moms: cook all of your ingredients (veggies) before making your wrap so it will be easily digestible.
Enjoy!
For Your Information
This recipe is:
- Family-friendly
- Lactation-friendly
- Recommended for pregnancy and postpartum nutrition
- Recommended for cesarean & other post op healing
 RSS Feed